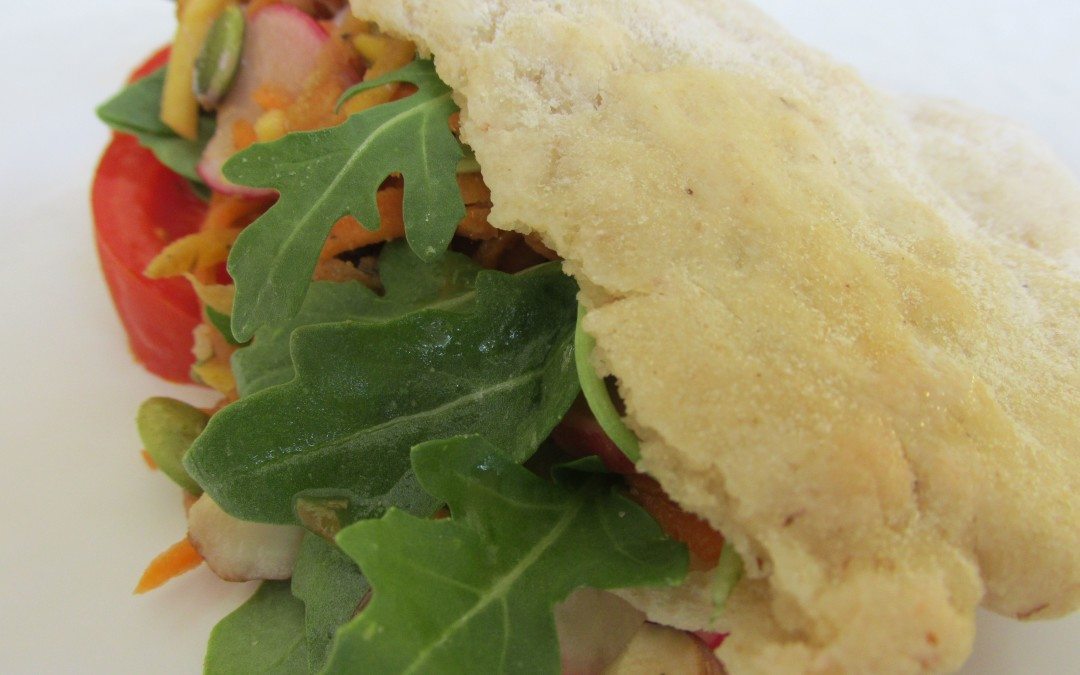
After having not eaten pita for more than a decade, I thought I’d died and gone to heaven the first time I enjoyed these warm, soft and pillowy GF pita wedges with garlicky hummus and the fixin’s. Making pita (pocket) bread isn’t nearly as fussy or time consuming as you might think. Give it a try!
1-2 tsp oil, olive or melted coconut - (NOTE: oil can be eliminated, however, this tiny amount is helpful for this recipe.)
NOTE:
Wrap day-old pita in foil to rewarm. Use a 400°F oven for 5-7 minutes for the freshest result.
Directions:
In a medium bowl, whisk together the wet ingredients. (Test water temperature on the inside of your wrist for warm, not scalding or too hot, water.) Allow to sit for 10 minutes to “proof.” (If it doesn’t froth and become a bit bubbly, your water temp might have been too hot or too cool. Throw out and start again.)
In a large bowl, combine the dry ingredients well.
Add the wet mixture into the dry, stirring with a wooden spoon until well combined. The dough should pull easily away from the sides of the bowl.
Lightly dust a clean surface with flour, and turn the dough onto the floured surface using floured hands. Knead by turning the dough over itself several times, forming a ball. Place it back in bowl and drizzle oil over top to keep it from drying out.
Cover the bowl with a clean tea towel. Let stand in a warm place (or turn your oven on to the lowest setting while you prep dough, then turn it off and allow to sit inside) for about 45 minutes to proof. Prepare 2 baking sheets with parchment paper.
Transfer the proofed dough onto a floured surface. Knead a few times.
Preheat your oven to 425°F.
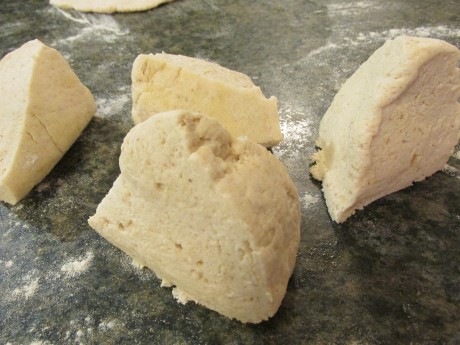
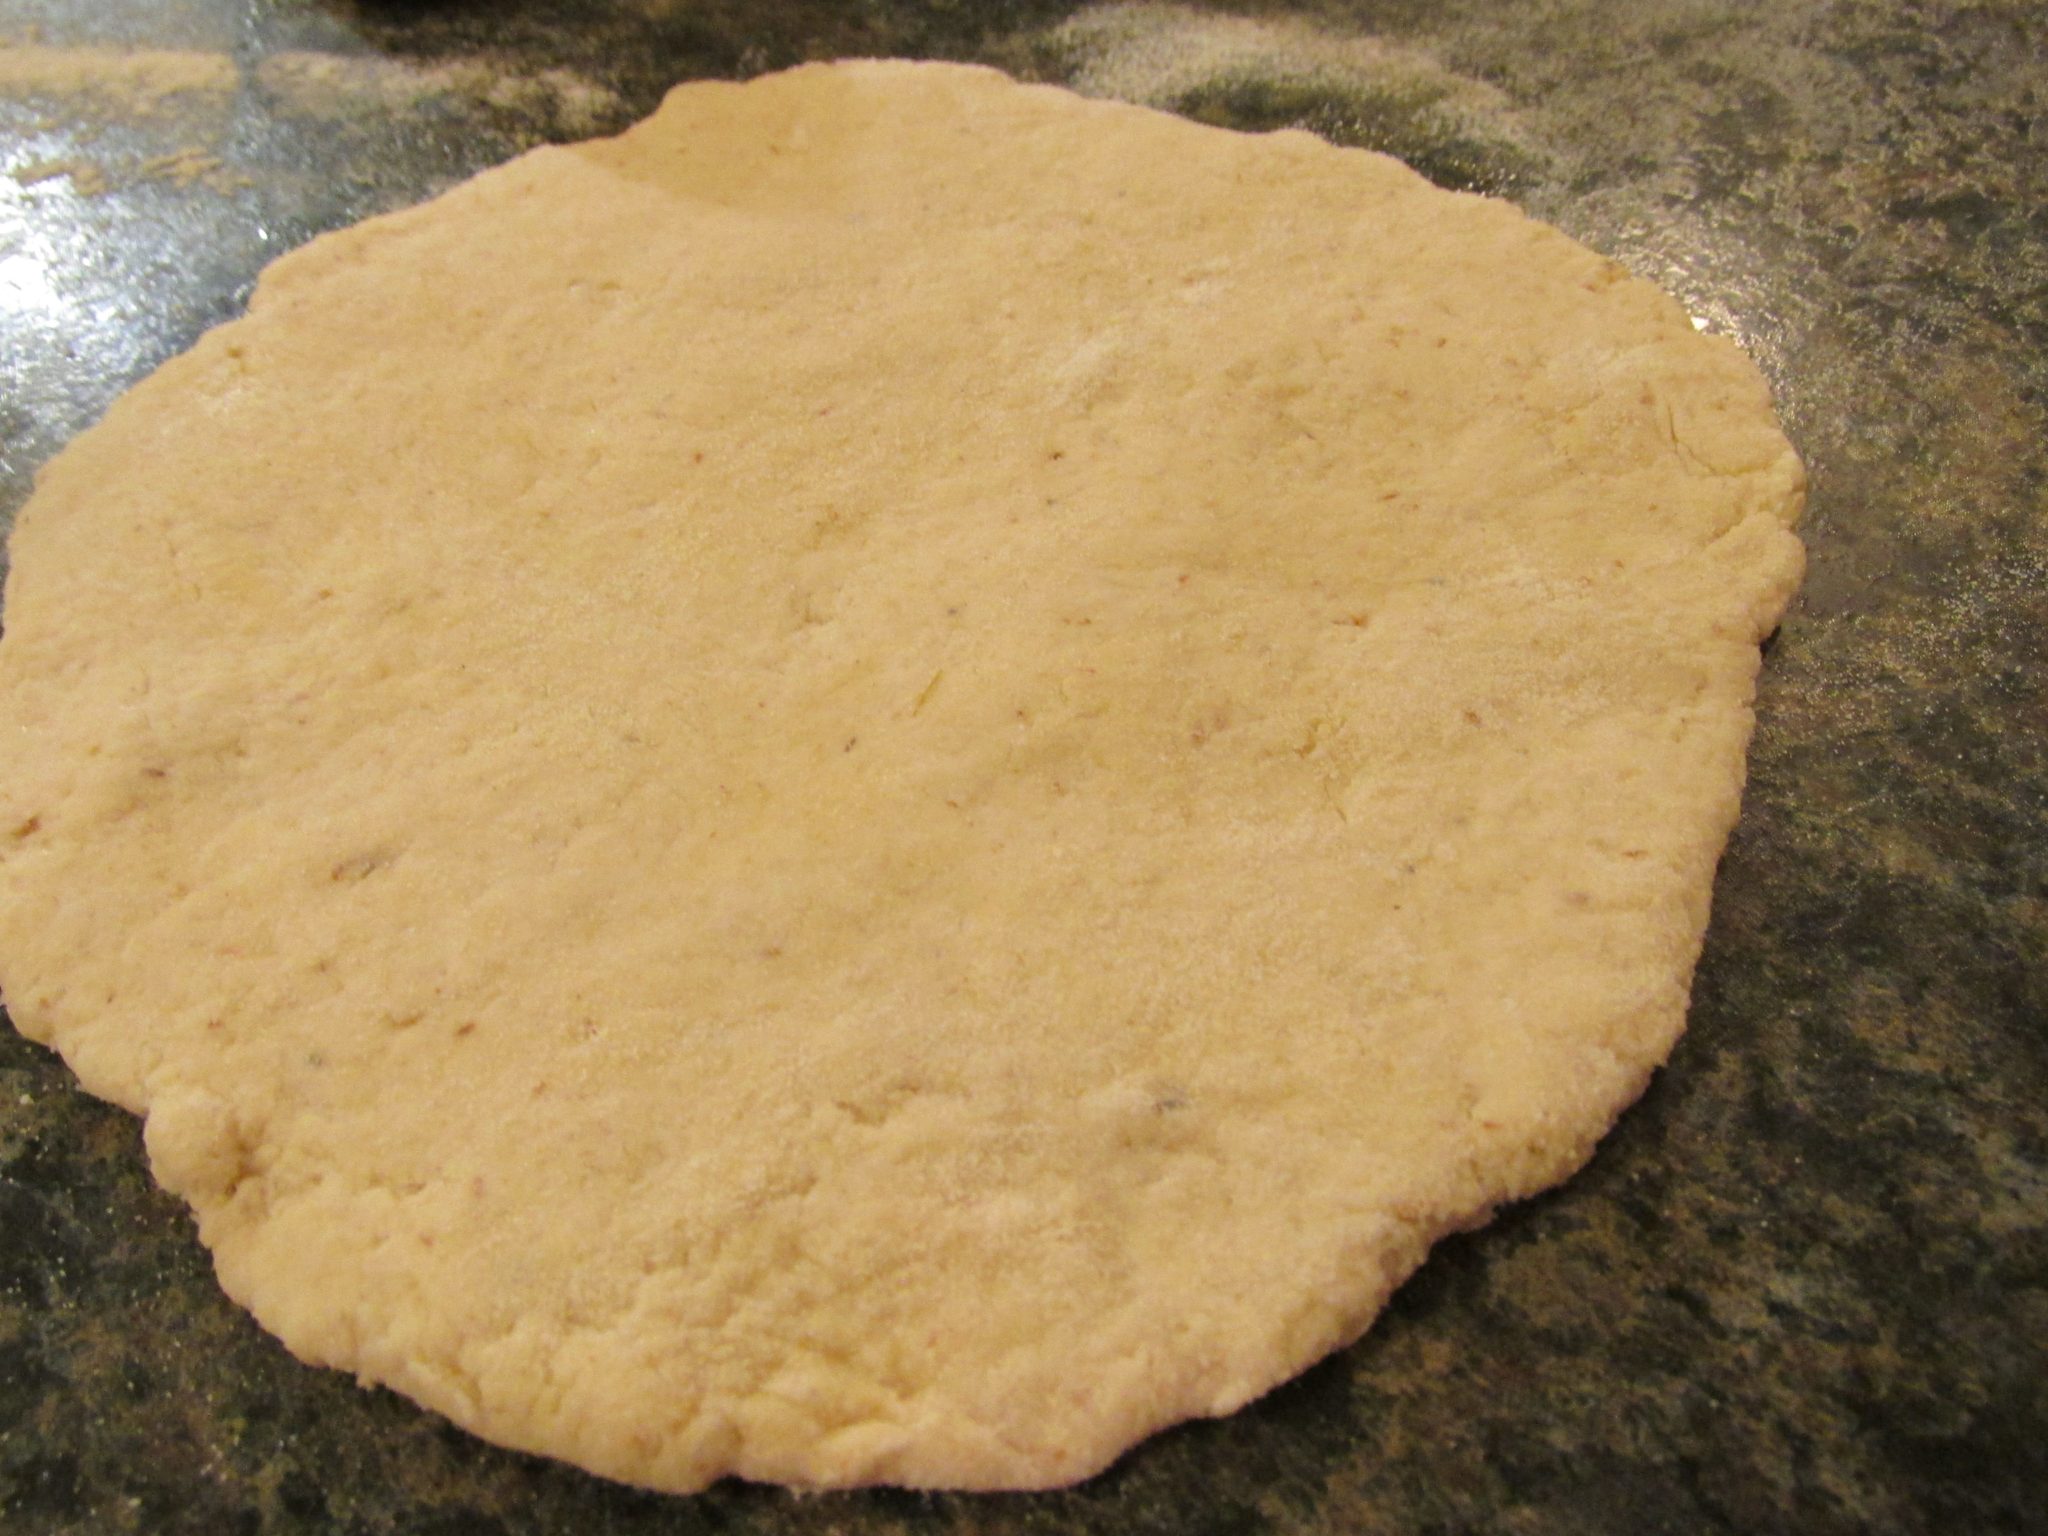
Cut the dough into 8 equal pieces. Sprinkle surface lightly with flour. Use the heel and palm of your hand to use pressure to form each dough piece into circular shapes about 5” or so.
Place 2 or 3 pita onto each baking sheet and place in oven. Bake for 5 minutes on first side, turning over to bake another 4 minutes. Repeat for remaining pockets.
Allow to cool completely. Using a sharp knife tip, slice each pita into a pocket along the edge, or cut into wedges.
I’m sure banana bread was invented to use up over-ripened bananas, and what a lovely breakfast food it makes…or an anytime food really! If you aren’t baking for a large crowd, you can eat half and freeze the rest (or give it to a friend!)
Switch up the nuts for dates or raisins or other dried fruit for fun variations, or my personal favorite, half nuts, half dates.
1¼ cups quinoa or brown rice flour (I've also used teff and buckwheat which give it a stronger flavor)
1¼ cups rolled oats
¾ cups garbanzo-fava flour
½ cup arrowroot powder
¼ cup chia seed flour
¾ cups raw sugar
1 Tbsp cinnamon
1 Tbsp baking powder
¾ tsp salt
1¼ cups walnuts (or replace some or all with chopped dates)
WET:
2 cups ripe mashed banana (4-5)
1 Tbsp vanilla
½ cup water
Directions:
Preheat oven to 350°F. Line a 9”x5”x3” loaf pan with parchment paper for easy removal after baking.
In a medium bowl, mix together dry ingredients, except walnuts.
In a large bowl mash bananas. (NOTE: Don’t use less than 2 cups.) Stir in vanilla.
Spoon ½ to ⅔ of the dry mix into the wet ingredients and stir. Add the water and stir again. Add the rest of the flour to achieve a moist, but not sloppy, batter.
Fold in the walnuts. NOTE: You can chop them or leave them in halves. (I prefer the crunchy results of the latter.)
Transfer batter to lined loaf pan.
Bake for 75 minutes. (NOTE: Even though the loaf will be browned nicely after 60 minutes, don’t be tempted to bake less than at least 70 minutes or you could end up with a too-moist middle. Test the middle with a knife or wooden skewer to be sure.)
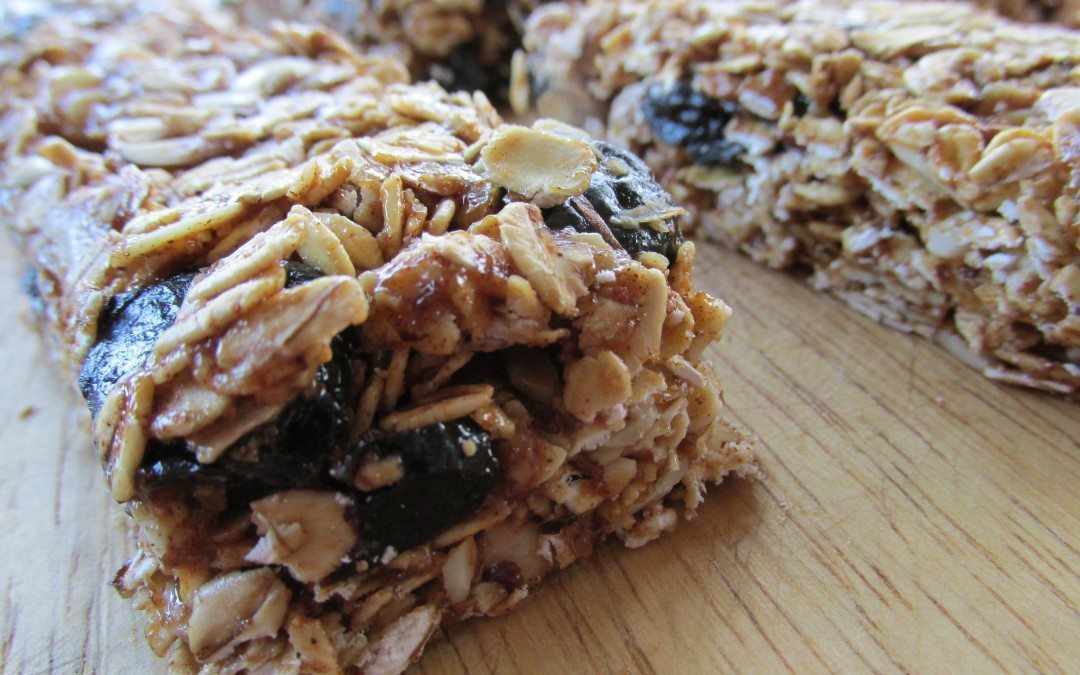
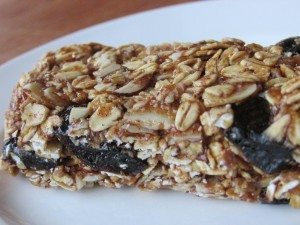
Whip up a batch of no-bake granola bars and you’ll have numerous snacks and quick breakfasts ready to go! Change up the fruits, nuts, and seeds for variety with each batch.
3/4 cup dark liquid sweetener (dark agave, maple syrup, or brown rice syrup)
¼ cup nut butter (almond, cashew, peanut butter, tahini, etc.)
3 cups rolled oats (or quick oats, however, rolled oats are best)
1 cup dried fruit (cherries, cranberries, blueberries, raisins, or chopped apricots)
1 cup nuts or seeds (slivered almonds, pumpkin seeds, coconut flakes, sunflower seeds, etc.)
pinch salt
OTHER:
GF vegan chocolate
lemon zest
candied ginger
dried spices or herbs
Directions:
Prepare a 9”x 9” baking sheet or pan with parchment paper.
In a food processor or blender, process 1 cup of the rolled oats into oat flour.
In a large pan over medium heat, warm syrup until bubbly. Lower heat if it’s boiling too high in the pan. Allow to simmer for about 2 minutes. (Simmering for a few minutes is what allows the sweetener to bind the ingredients so they won’t crumble.)
Whisk in the almond butter.
Turn off the heat.
Add the rolled oats, oat flour, dried fruit, nuts, and spices. Mix well.
Immediately press firmly into baking sheet or pan. Cool before cutting into bars with a sharp knife if you want them to be dry enough not to be too sticky. (Place in fridge for at least 30 minutes or an hour on the counter, minimum.)
Cut into desired size. (If you want them to fit into snack-size bags or specific containers, cut into appropriate shape and size.)
Wrap individual bars in parchment paper and tuck into a snack-size ziplock bag if you want quick grab-and-go bars.
Keep refrigerated or store in a cool place.
OPTIONAL: Dip into melted 85% dark, vegan chocolate for a decadent treat! Allow to set.
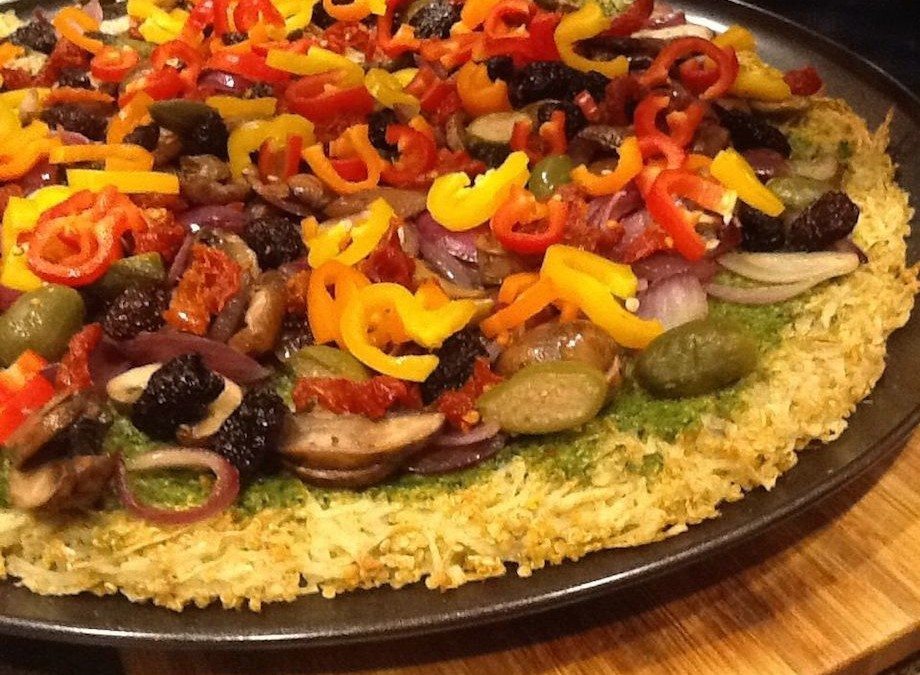
This cheezy potato-grain-based pizza crust is as satisfying as any flour crust. You can bake it in advance, adding your favorite toppings and heating prior to serving.
½ cup slivered almonds, chopped or pulsed in grinder
½ cup fruit jam, your choice!
Directions:
Preheat oven to 350°F.
Line cookie sheets with parchment paper.
Prepare almond coating by finely chopping with a knife or pulsing in a spice or nut grinder. Place in a suitable bowl for rolling dough balls.
Mix together dry ingredients.
Cream nut butter, syrup and almond extract.
Add dry ingredients and combine well. The dough will be sticky.
Using moistened hands, form 1” balls. Roll each ball in chopped almonds. Press gently with thumb to make a dent on top of cookie. Set each cookie on cookie sheet.
Bake for 12-15 minutes until lightly browned.
Cool completely and fill with your choice of jam or fruit butter!
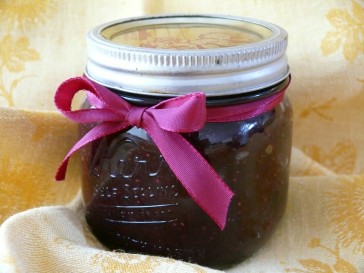
So simple! So delicious!! Chia seeds not only thicken fruit to make jam, they provide omega 3 fatty acids and lots of dietary fiber to your breakfast, snacks, or treats!
Hi, I'm Victoria Laine, whole-food educator, author, and health blogger.
My website is the home of all things delicious and nutritious, celebrating the pleasure of food and well-being.
You'll find recipes, menus, books, and courses, as well as private nutrition counseling for Celiac disease, inflammatory conditions, allergy eating, plant-based lifestyles, and more.
I'd love to hear from you if you have questions or suggestions!