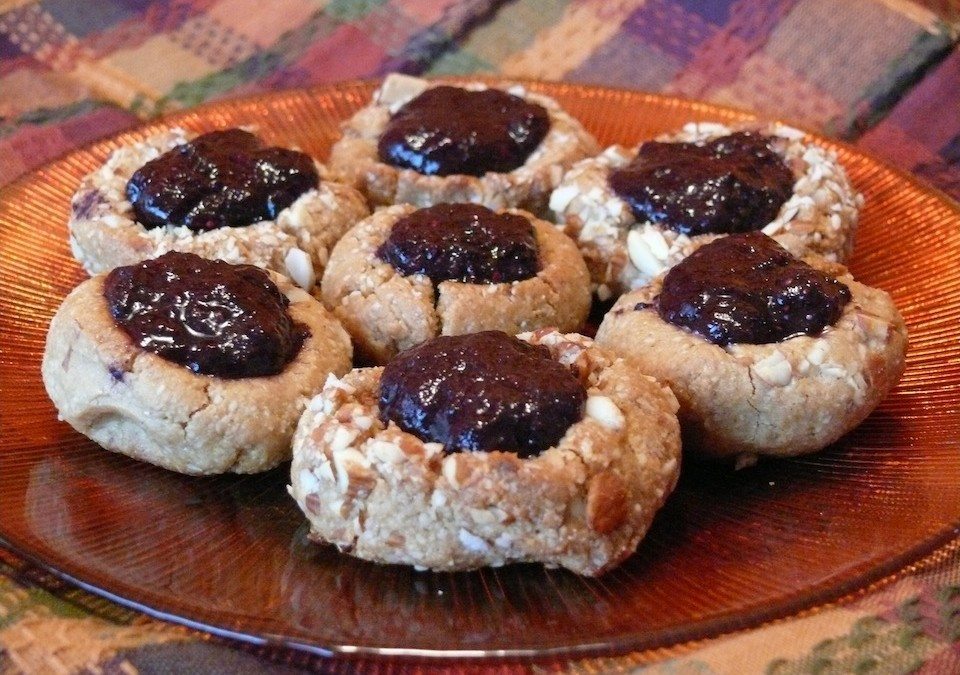
½ cup slivered almonds, chopped or pulsed in grinder
½ cup fruit jam, your choice!
Directions:
Preheat oven to 350°F.
Line cookie sheets with parchment paper.
Prepare almond coating by finely chopping with a knife or pulsing in a spice or nut grinder. Place in a suitable bowl for rolling dough balls.
Mix together dry ingredients.
Cream nut butter, syrup and almond extract.
Add dry ingredients and combine well. The dough will be sticky.
Using moistened hands, form 1” balls. Roll each ball in chopped almonds. Press gently with thumb to make a dent on top of cookie. Set each cookie on cookie sheet.
Bake for 12-15 minutes until lightly browned.
Cool completely and fill with your choice of jam or fruit butter!
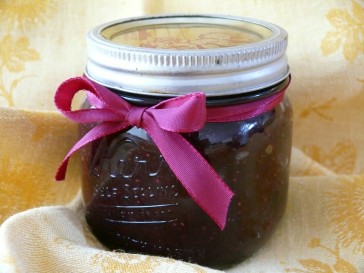
So simple! So delicious!! Chia seeds not only thicken fruit to make jam, they provide omega 3 fatty acids and lots of dietary fiber to your breakfast, snacks, or treats!
Move over Carnation Instant! This creamy, delicious smoothy is chocked-full of calcium and other bone building minerals, including omega-3 fatty acids.
Author: Victoria Laine
Serves:: 1 serving
Prep time::
Total time::
Ingredients:
1-11/2 frozen banana
2-3 ice cubes
1 Tbsp cocoa powder
2 tsp hulled hemp seeds
1 tsp tahini (sesame butter)
4 oz water, or unsweetened non-dairy milk
2 tsp pure maple syrup
½ tsp blackstrap molasses
Directions:
Pre-freeze bananas in a freeze-able container (Peel bananas, break into 3 or 4 sections, and freeze for several hours. Will keep for several weeks.)
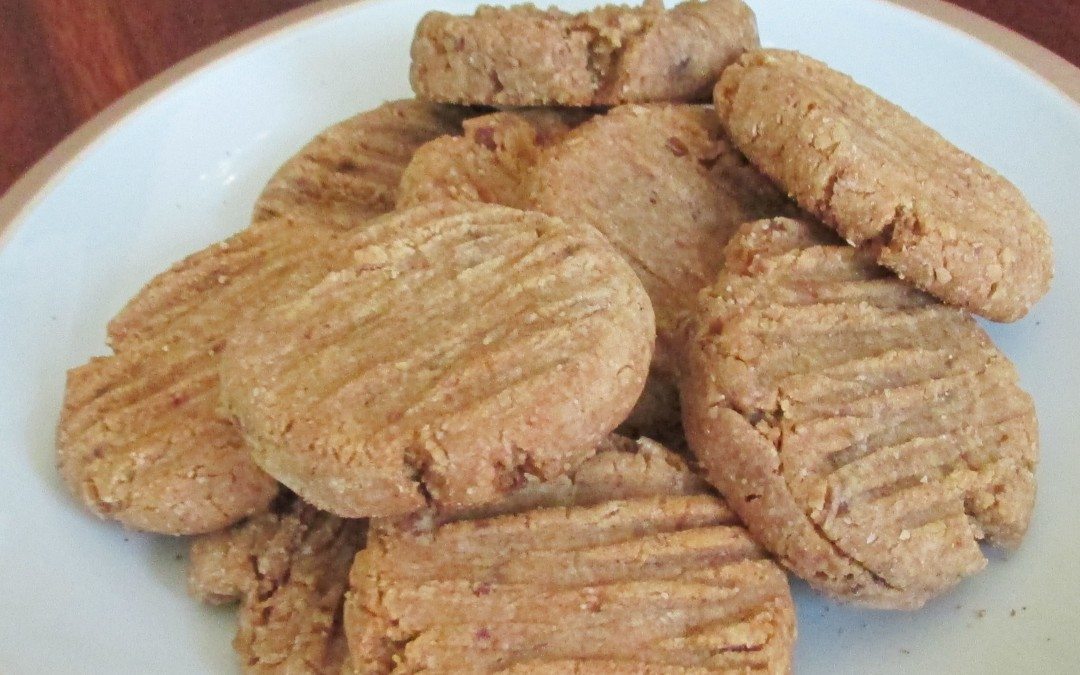
Classic peanut butter cookies without the refined sugar or fiber-less flour! Just whole-food ingredients for quick and easy comfort food. Nothing wrong with adding a layer of chocolate, too!
Author: Victoria Laine
Serves:: 2 dozen
Prep time::
Cook time::
Total time::
Ingredients:
1 cup raisins or dates
1 cup peanut butter
2½ cups rolled oats
¾ tsp salt
½ cup maple syrup (or other dark liquid sweetener)
CHOCOLATE VARIATION:
8 oz GF vegan (70-85%) chocolate bar, or chocolate chips or chunks
Directions:
Preheat oven to 350°F.
Line 2 baking sheets with parchment paper.
In a food processor with the S-blade, process all ingredients until you get a dough-like texture.
With clean hands mold dough into about ping-pong size balls.
Place balls onto baking sheet.
Dip a fork into a small glass of water and press into each ball, making criss-cross marks.
Bake for about 9-12 minutes until bottoms are lightly browned.
Cool and store in an airtight container.
Although not necessary, if you are dipping the baked cookies in chocolate or drizzling melted chocolate over them, you can freeze them first to allow the melted chocolate to set up more easily.
I love the fudgy texture of these brownies! ...and then there are the optional additions like dried chewy cherries! Yum! So simple or elegant...your choice!
Author: Victoria Laine
Recipe Type:: Snacks, Treats, Chocolate, Dessert
Serves:: 8-12 Brownies
Prep time::
Cook time::
Total time::
Ingredients:
DRY:
½ cup oat flour
½ cup cocoa powder
⅓ cup raw sugar
¼ tsp salt
½ tsp baking soda
2 Tbsp chia seed flour
½ tsp cinnamon
WET:
½ cup prune puree
¼ cup water
1 tsp vanilla
GANACHE GLAZE:
½ cup dark chocolate - (70-85%)
2 Tbsp plant-milk (almond, coconut, soy, etc.)
Directions:
Preheat the oven to 350°F.
Prepare an 8”x8” pan by lining it with parchment paper.
In a medium-large bowl, blend together all dry ingredients, including any optional dry additions.
Mix together the prune puree and water, and any optional wet additions or replacements.
Add the wet ingredients to the dry blending well.
Fold in chopped chocolate or chocolate chips, or nuts.
Bake brownies for 22-25 minutes.
Allow to cool completely. (They will become firmer and chewier.)
GANACHE GLAZE:
Melt chocolate bar, chips, or chunks either in a microwave (30-60 seconds) or over a double broiler, stirring well.
Continue stirring as you add in the milk. Spread the melted chocolate over the top of cooled brownies and allow glaze to “set.”
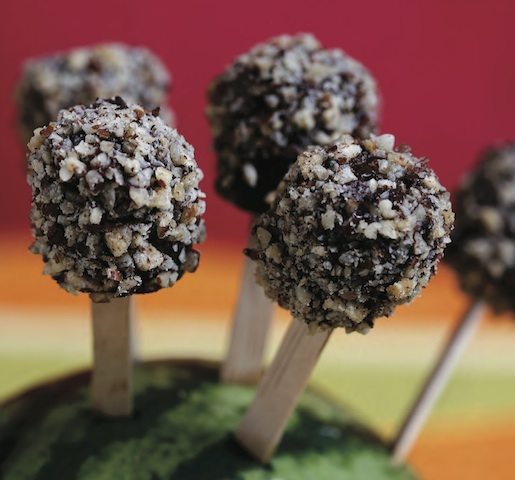
These frozen bite size treats are a delicious cold delight. A creamy center with a chocolatey crunchy outer for summer days!! Allergic to nuts? Use hemp hearts (hulled hemp seeds) instead!
Author: Victoria Laine
Recipe Type:: Treats
Serves:: 10-12 Frozen Chocolate Banana Buds
Prep time::
Total time::
Ingredients:
2 ripe medium-large bananas
10-12 popsicle sticks
½ cup chopped nuts (hazel, walnut, pecan), or hemp hearts, or cocoa nibs
½ cup dark chocolate bar or chips
Directions:
Prepare several hours in advance of serving to allow for freezing.
Line a baking sheet or a freezer-safe flat plate with plastic wrap or parchment paper.
Peel and cut bananas into 1” pieces. Pierce each banana bud with a popsicle stick.
Place each banana bud, stick side up, on the prepared sheet and place in freezer for 50-60 minutes or more.
Chop nuts with a knife or in a food processor. Place in a shallow dish and set aside.
Melt chocolate in a microwave using 30-60 second spurts. Or, in a saucepan with an inch of water and a bowl or insert. (Don't allow steam or water to touch chocolate.)
Remove banana buds from freezer and roll each bud in melted chocolate until covered. Roll in chopped nuts or seeds. Repeat for each bud.
Place the coated chocolate banana buds back on sheet in freezer until chocolate sets. (Note: The more frozen the bananas, the quicker the melted chocolate will set.)
Hi, I'm Victoria Laine, whole-food educator, author, and health blogger.
My website is the home of all things delicious and nutritious, celebrating the pleasure of food and well-being.
You'll find recipes, menus, books, and courses, as well as private nutrition counseling for Celiac disease, inflammatory conditions, allergy eating, plant-based lifestyles, and more.
I'd love to hear from you if you have questions or suggestions!