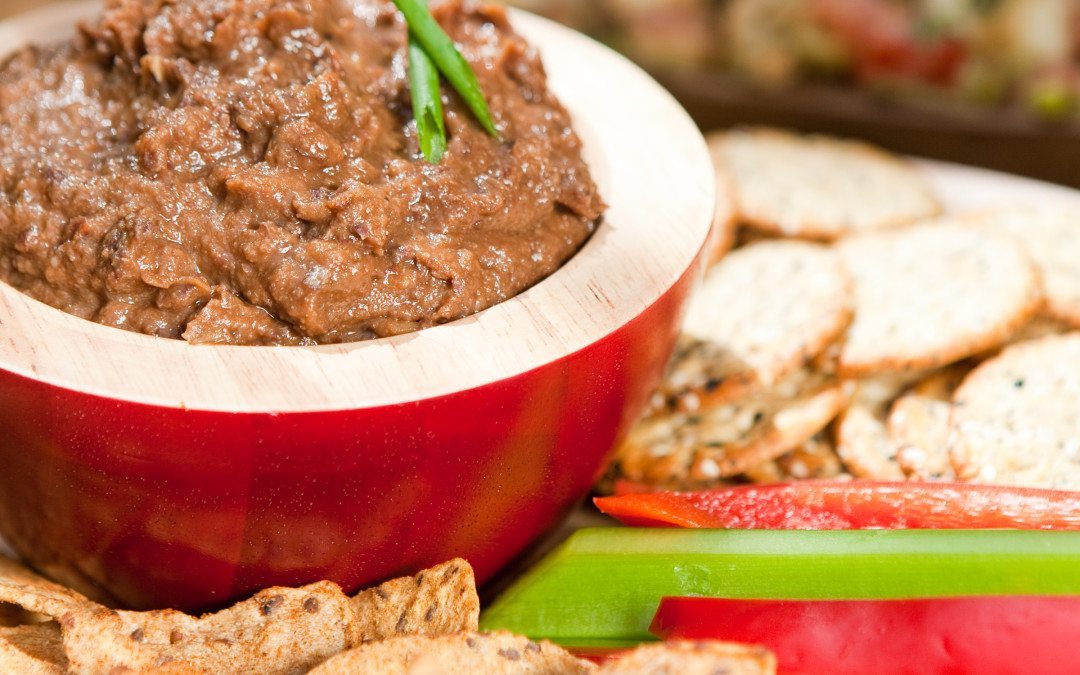
BBQ Black Bean Dip is a favorite crowd pleaser I’ve served for many occasions: New Years parties, summer gatherings and every day fare. It can be used not only for a corn chip, cracker and veggie dip, but also for a delicious wrap filling.
It can be made in advance (in fact is even better the second day) and will keep refrigerated for up to a week.
Add the rest of the ingredients except the beans to the processor bowl and process until smooth. Open canned beans and drain. Add the beans and pulse a few times until you get a desired (chunky or puréed) texture.
Can be served at room temperature, chilled, or warmed in a saucepan or fondue dish.
This is a “think-ahead” recipe because the batter is made at least 12 hours prior to cooking. Flat-breads that are “soured” (fermented) using ground bean or lentil flours are called a variety of names around the world: dosas, roti, chapati, crepes, or socca, etc. It is often used instead of utensils, hand held, to scoop up thick stew-like dishes like curries and dahls.
Mixed-eating family? Tempeh, tofu, chicken, beef or pork? … Avocado or cheese?… Creamy Garlic Dip or sour cream? This Freedom Fajita can be served with the rainbow of colored bell peppers and onions, and whatever other fillings you need to please your crowd. GLUTEN-FREE: Use gluten-free tortillas wraps and tempeh. Avoid seiten (made from wheat).
8 whole grain tortilla wraps/shells (GF: purchase or make gluten-free wraps)
2 Tbsp water or veggie broth
2 large onions (preferably sweet)
3 large red, yellow and orange bell peppers (1 of each color), can substitute frozen
1 Tbsp coconut or olive oil (or spray oil)
8oz (225g) pkg pre-marinated tempeh, (I like smoked)
2 Tbsp lime juice
2 small avocados, sliced
6-8 Tbsp salsa (your heat choice)*
Directions:
WARMING PREPARED TORTILLA SHELLS: Some store-bought shells are fresh enough to fold without breaking. Some need to be warmed slightly to fold without breaking. There are (at least) three ways to warm shells: 1/ Place the required amount of shells in a foil package, making sure not to expose any of the wrap. 2/ In a warmed heavy dry fry pan, place individual shells for about 30 seconds, flipping for another several seconds until warm. Fill and wrap immediately, while the next shell warms. 3/ Microwave individually for 5-10 seconds.
PREP FILLING:
Slice tempeh or tofu into strips about the thickness of a chopstick, leaving them the length of the slab.
Peel onions and slice in half, then cut lengthwise into approximately ½” strips.
Cut bell peppers in half, clean seeds and membrane away, and slice each half into ½” strips.
If using avocado, cut into slices.
Assemble salsa and other topping options.
Add water or broth to a heavy deep pan. Over medium-high heat, quick-fry onions for about 1 minute, adding peppers. Stir constantly until veggies are tender crisp, not too soft. Transfer from pan to a large bowl.
Lightly spray or brush oil to coat pan. Add the tofu or tempeh strips. Stir fry until browned and crispy. Add the lime juice and place a lid on pan. Turn off the heat.
ASSEMBLE:
Assemble individual fajitas by placing warmed shells on table or counter top. Evenly distribute the crispy tofu or tempeh, the onion and bell pepper mixture, salsa, avocado, and optional sauce on each shell. *If you like more spice, add a splash of hot sauce.
Wrap tightly by folding sides into the center. Then fold the bottom and top, securing the filling. Serve immediately.
Whisk ingredients together until thick and creamy.
Frost muffins, decorate with a banana slice if desired, and enjoy.
Directions:
Preheat oven to 350°F. Line muffin tin with paper muffin cups.
In a large bowl, mash ripe banana with a fork or potato masher.
Whisk in peanut butter, maple syrup, water, and vanilla.
In a medium bowl, blend together dry ingredients.
Add dry mix to wet and stir.
Blend well and fill muffin tin, dividing batter into each cup. If you’d like to add a slice of banana on top of each muffin before baking it will become sweet and creamy.
Bake 30 minutes until lightly browned. Cool completely if frosting. Frosting is completely optional depending on your little monkeys’ desires!
There are 2 special ingredients in this borscht that give it a special element of flavor. Hint: two of my favorite ingredients! Can you guess what they are?
Don’t throw away the leafy beet tops! Russian Borscht Soup can be refrigerated for several days. CAN BE FROZEN.
There are 2 special ingredients in this borscht that take it over the top. Two of my favorite ingredients, used as natural flavor enhancers! Can you guess what they are?
Add the stock, tomato sauce, vegetables, legumes, cayenne pepper, bay leaves and parsley and stir.
Bring to a boil and reduce to simmer.
Simmer until veggies are softened but still firm when pierced with a fork, anywhere between 3 minutes if grated, to 12 minutes if cubed. Add beet greens last, typically they take about 5 minutes to wilt.
Turn off heat.
Add the lemon juice and maple syrup. Add chopped fresh tomatoes if desired.
SLOW COOKER OPTION - Sauté onions, as #1 (above). Add #2+#3 (above) into slow cooker on low - for 6-7 hours or high for 2-3 hours. Add the lemon juice and maple syrup. Add chopped fresh tomato if desired.
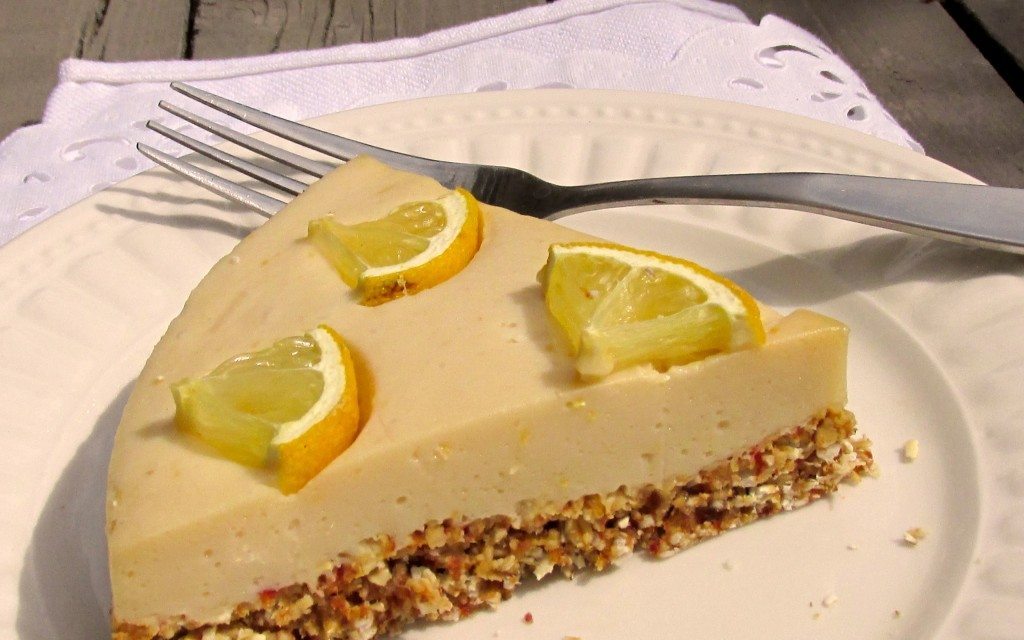
I love these simple, press-pan pie crusts not only because they take such little time to prepare, but also because they are delicious and versatile!
With the addition of rolled oats, Crust #1 is a bit lighter, however both have rich flavors.
The filling options are endless and these crusts can also be baked should you want to fill it with sliced apples, maple syrup, and cinnamon, or other fruit fillings.
I love these simple, press-pan pie crusts not only because they take such little time to prepare, but also because they are delicious and versatile!
Author: Victoria Laine
Serves:: 1 pie crust
Prep time::
Total time::
Ingredients:
CRUST #1:
8 medjool dates, pitted (about ¾ cups)
½ cup shredded coconut
1 cup rolled oats
pinch salt
CRUST #2:
1 cup raw walnuts
1 cup shredded coconut
½ cup pitted dates
pinch salt
TIP:
If dough isn’t sticky enough to hold together, drizzle a tiny amount of dark liquid sweetener (maple syrup, agave, brown rice syrup, etc) into it.
Directions:
Directions for both crusts are the same:
Pulse the ingredients in a food processor with the “S” blade until the dough holds together when pressed between fingers (usually about 2 minutes.)
Then transfer dough to lined pie plate or spring form pan, pressing down firmly with fingers. Voila! (It’s a good idea to also dust the pan or plate with rolled oats to avoid sticking.)
Hi, I'm Victoria Laine, whole-food educator, author, and health blogger.
My website is the home of all things delicious and nutritious, celebrating the pleasure of food and well-being.
You'll find recipes, menus, books, and courses, as well as private nutrition counseling for Celiac disease, inflammatory conditions, allergy eating, plant-based lifestyles, and more.
I'd love to hear from you if you have questions or suggestions!